“Rick, we’ve got to do something about the windows,” Sandy implored her husband. “There’s condensation forming between the panes, so I’m pretty sure all of the seals are broken and not doing much to keep the cold out. And the wood on the inside is starting to rot.”
Sandy and Rick are sitting around the kitchen table, having the same discussion they’ve had nearly every night for the past month.
Rick let out a sigh. “I know. We should really get this taken care of before winter, and definitely before the baby comes. I’ll have a look online and try to figure out the best way to go about having new windows installed.”
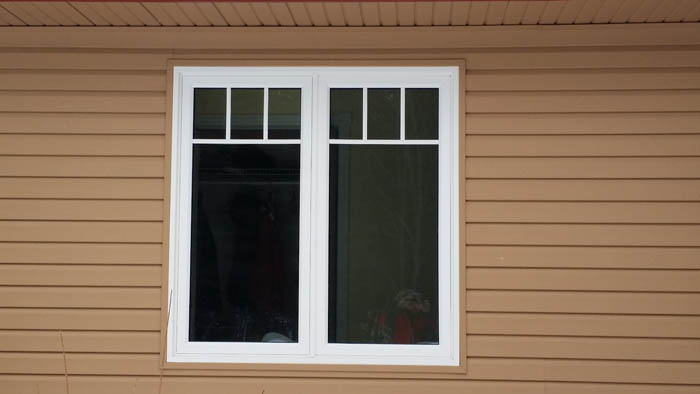
After spending some time researching and comparing different types of windows and the companies that make them, Rick finds a great vinyl window manufacturer. Through their website he’s directed to a number of local dealers, all of which look the same to him. Faced with a new challenge, Rick and Sandy now have to determine who the best people are to install their windows.
How to Choose a Window Installer
Below are seven things that Rick and Sandy would have found helpful when searching for a good window installer. The first three have to do with finding a reputable company that you can trust to install your windows. The last four points detail the proper installation of a new window; your contractor should follow these general steps, if they know what they’re doing.
1. Find out how long the company has been in business.
The longer, the better. Often a bad installation can remain hidden for a period of years. Certain disreputable installers know this fact and take advantage of it by spending a couple of years cutting corners, doing poor work, and undercutting the honest contractors in a particular area before disappearing, never to be seen again. If a business has been around for less than three years, check their references thoroughly and make sure they follow the guidelines for installing windows that we’ve listed below.
Another sign of an established business is an office with a showroom. Not only does this make it easier for you to see your windows before having them installed, it’s also a good sign that the company is committed to sticking around for the long term.
2. Ask about the labour warranty.
This is the installer’s guarantee on their workmanship and is separate from the window manufacturer’s warranty on their product. When a company that has been around for a long time provides a longer warranty (i.e., five to 10 years) on their labour, this is a good sign that they do good work; if they didn’t, they would have to spend countless hours going back to fix previous jobs. To ensure that a company honours their warranty, check their references and their Better Business Bureau (BBB) rating.
3. A contractor should carry comprehensive liability and workers’ compensation insurance to protect you in the event of an accident.
This can be verified by asking to see the contractor’s certificates of insurance.
Contractors who are insured and who follow safety guidelines endure higher job overhead costs. These expenses are often the cause of price differences between contractors who are insured (and are following the law) and those that are not. Beware of going with a cheaper company that isn’t insured; if anyone suffers an injury on the job, you will likely be held liable.
4. After removing the old window, the new one should be positioned in the opening and shimmed so that it is plumb, level, and square.
Place a shim approximately every 16 inches on the sill and every 24 inches on the jambs. The window should be fastened through the jambs at the shim locations with round head, rust-protected screws. No fasteners should go through the sill because they could compromise drainage.
5. The space around the window must be covered on the outside with a vinyl brickmould (which is typically built into the window) or with aluminum flashing.
Caulk is then applied to where brickmould meets the adjacent siding or brick. Be sure to use quality exterior grade caulking and ensure that all gaps are sealed and protected from the elements.
6. Canadian building code requires that a drip cap be installed above the head of the window.
This is a very important flashing for effective shedding of rainwater. The back leg of a drip cap must extend at least 2 inches up and behind the building paper/exterior air barrier.
7. Apply two beads of polyurethane insulation foam about one inch in depth on all four sides of the window frame.
One bead goes along the outside edge of the window frame directly behind the brick mould; the other bead of foam goes near the inside edge of the window frame. If jamb extensions are not sealed to the frame, be sure that foam covers the joint between the jamb extension and the window frame on all four sides of the window.
Use this list as a guide when asking a window installer about their services. For an in-depth consultation and estimate, call Edmunds Home Improvements: 905-472-0276.
